Edit the default channel styles for your network
In your PANDA dashboard, you can set and edit the default styles (e.g., colors, fonts, engagement panels, and more) for all channels across your network. Every time you create a new channel, the new channel will contain your default styles. (You can also edit the styles for a specific channel when you want it to be different from the default.)
- 1
Log in to your PANDA dashboard.
- 2
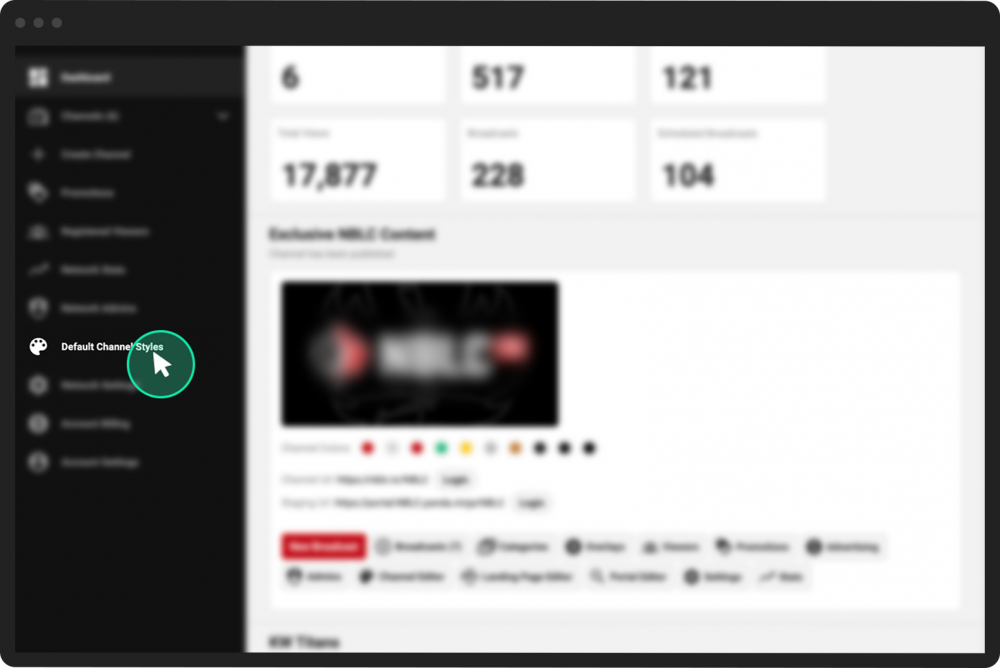
Click Default Channel Styles from the far-left menu.
- 3
Choose the icon for the style category you would like to edit from the left-hand menu.
- 4
Make your desired changes in each category (see below).
- 5
View a preview of your channel defaults on the right half of the screen. Switch between previews of how your channel will look on a laptop, tablet, or mobile device by clicking the icons at the top right of the screen (to the left of the **Save Settings(( button).
- 6
Click the green Save Settings button in the top right of your screen.
- 7
Click Save in the pop-up window to confirm.
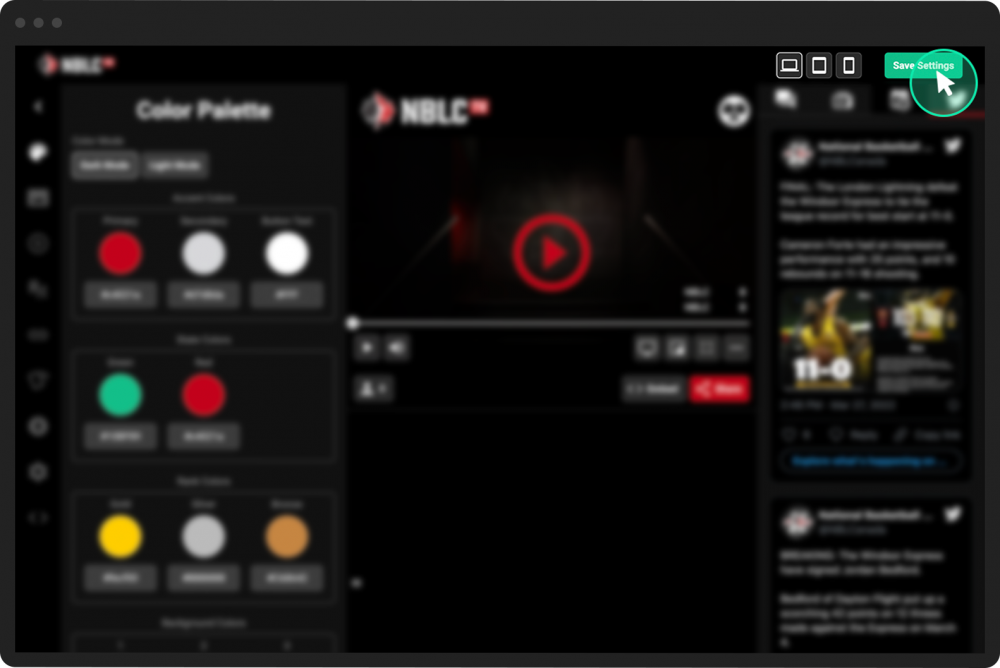
Choose Dark Mode or Light Mode.
Choose your accent, state, rank, and background colors. You can either type in an HTML hex color code or click the circle to select a color.

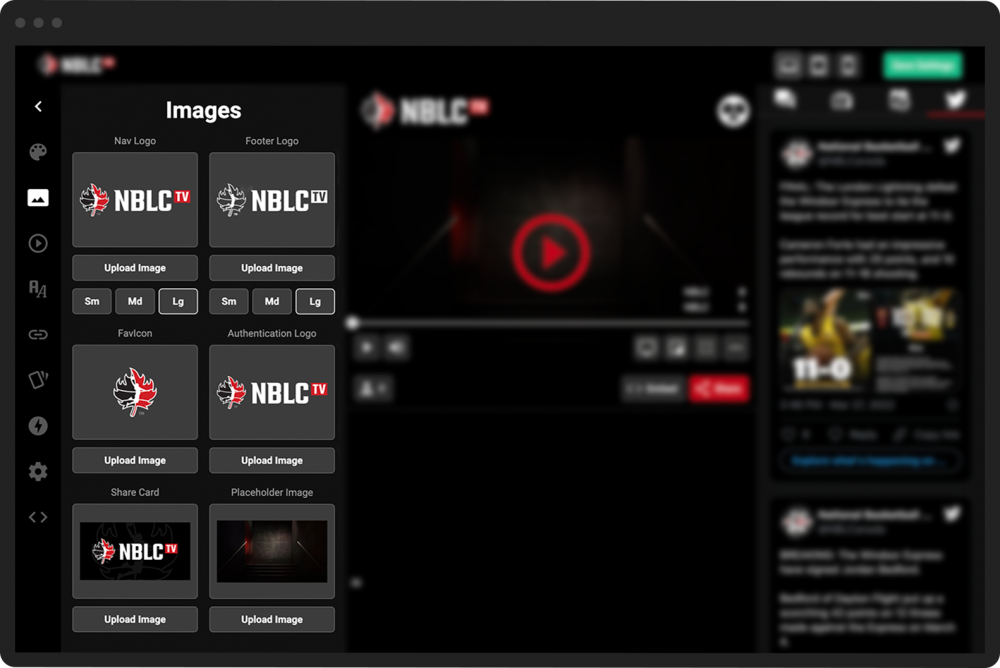
View your nav logo (the icon in the top left of your channel’s screen), footer logo, favicon (the icon in your browser tab), authentication logo, share card, and placeholder image.
Click the Upload Image button under any category to replace the image with a new file.
For nav and footer logos, click Sm, Md, or Lg to adjust the size of the logo on the page.
In the textboxes, enter a URL for a video to change the default videos that will play, including:
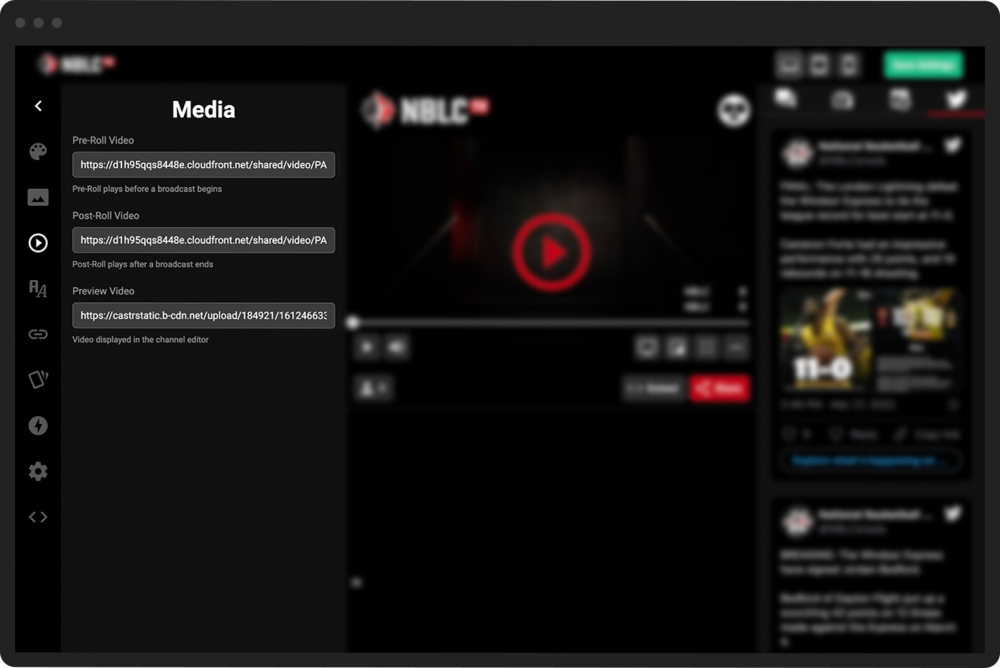
Pre-Roll Video–the video that plays before every broadcast begins.
Post-Roll Video–the video that plays after every broadcast.
Preview Video–the video that appears in the channel editor’s preview section.
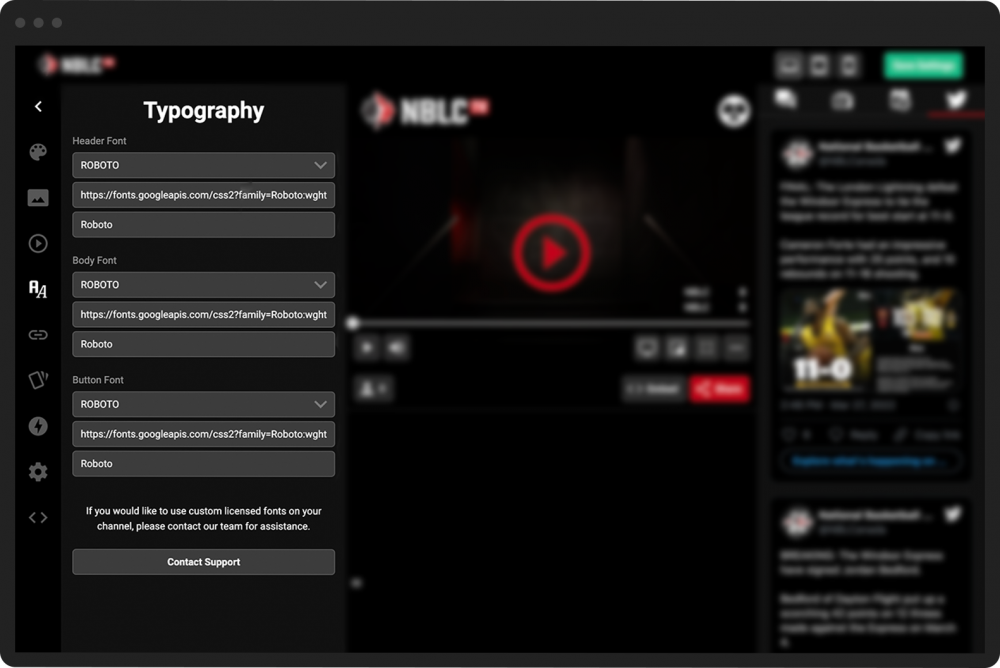
Use the dropdown menus to choose a new header, body, and button font. The dropdown menu shows you both the name of the fonts available as well as what they look like.
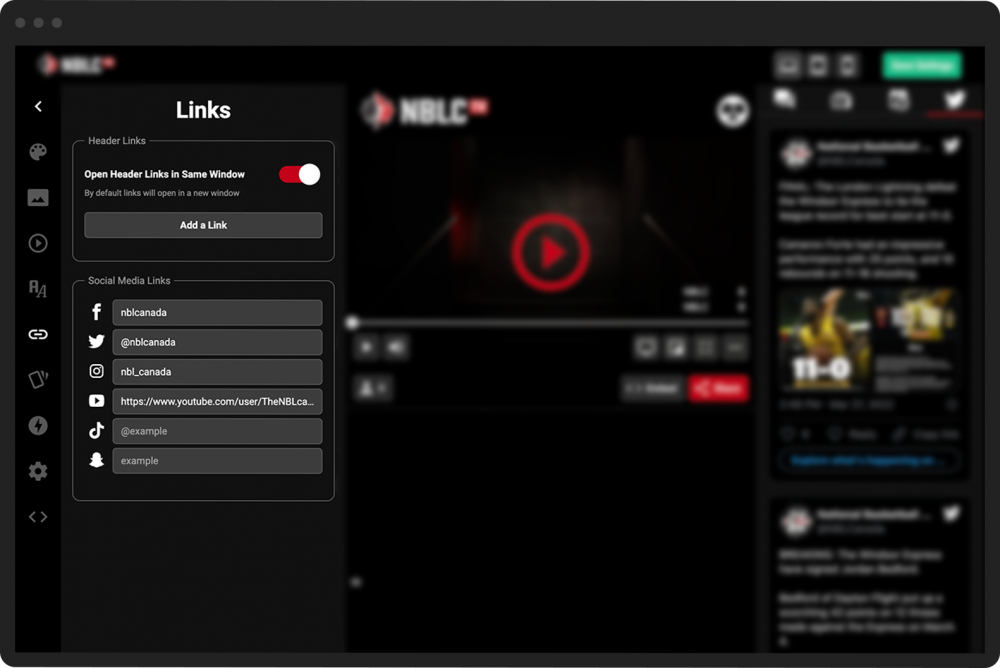
Under the Header Links section, toggle the Open Header Links in Same Window button if desired.

Click the Add a Link button to change your header link. Enter the URL and the name of the destination where you want to send your user when they click on the header.
In the Social Media Links section, add links or usernames for your desired social media pages, including Facebook, Twitter, Instagram, YouTube, TikTok, and Snapchat.
Choose and adjust the settings for the default engagement panels you want available for each channel.
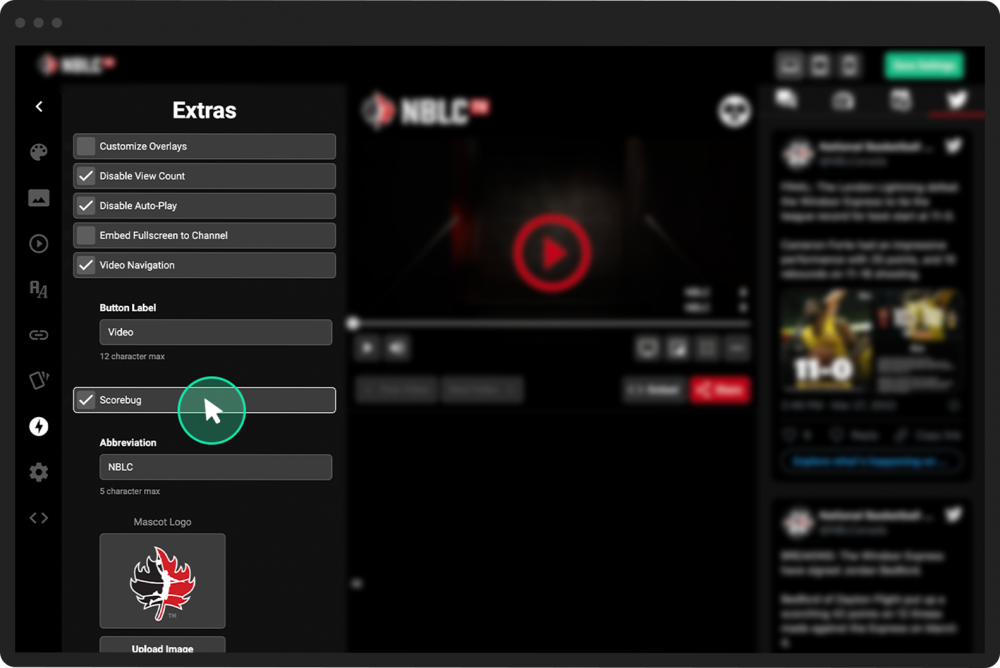
Adjust additional settings available for your channel, including:
Disable View Count. Check the box if you don’t want the number of views to appear below your channel’s videos.

Disable Auto-Play. Check the box to stop videos from playing automatically when a page loads.
Video Navigation. Check the box to add next and previous buttons to the video player that moves the viewer to different videos within the video category or channel.

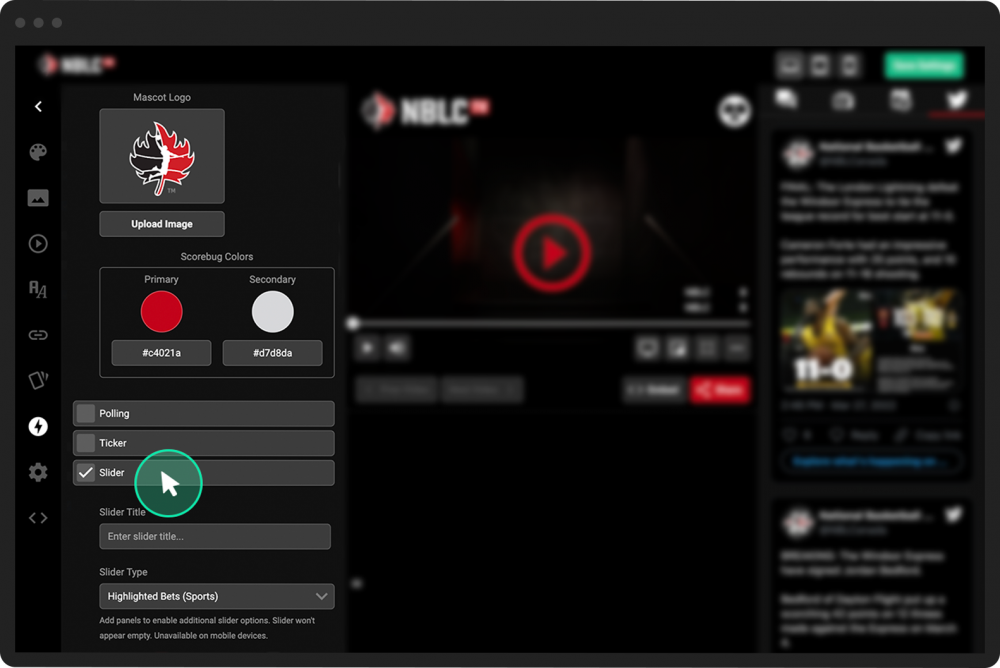
Scorebug (sports). Check the box, then enter a 5-character Abbreviation for a team, upload a Mascot Logo image, and adjust the Scorebug Colors as desired.
Slider. Check the box, then enter a title for the slide in the text box. Choose a Slider Type from the dropdown menu. The options available in the dropdown menu correspond to the engagement panels you have activated.
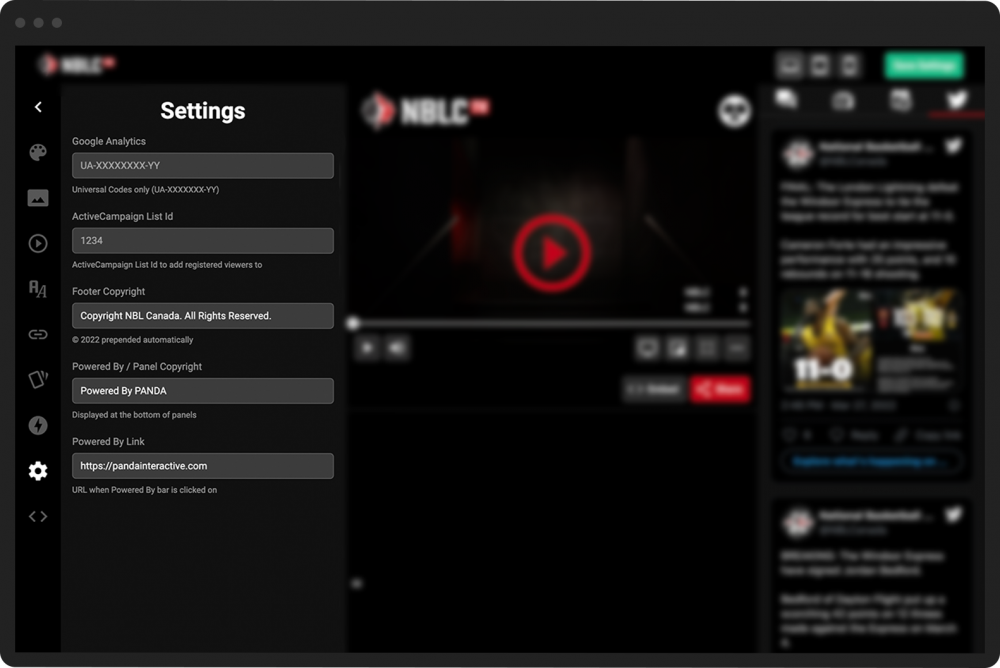
Add additional links and information in the text boxes as desired, including:
Your Google Analytics and ActiveCampaign List Ids
The copyright text at the footer of each page